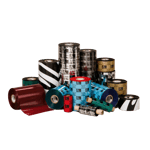
Beginner's Guide: Create Your First Label with Free Zebra Label Software
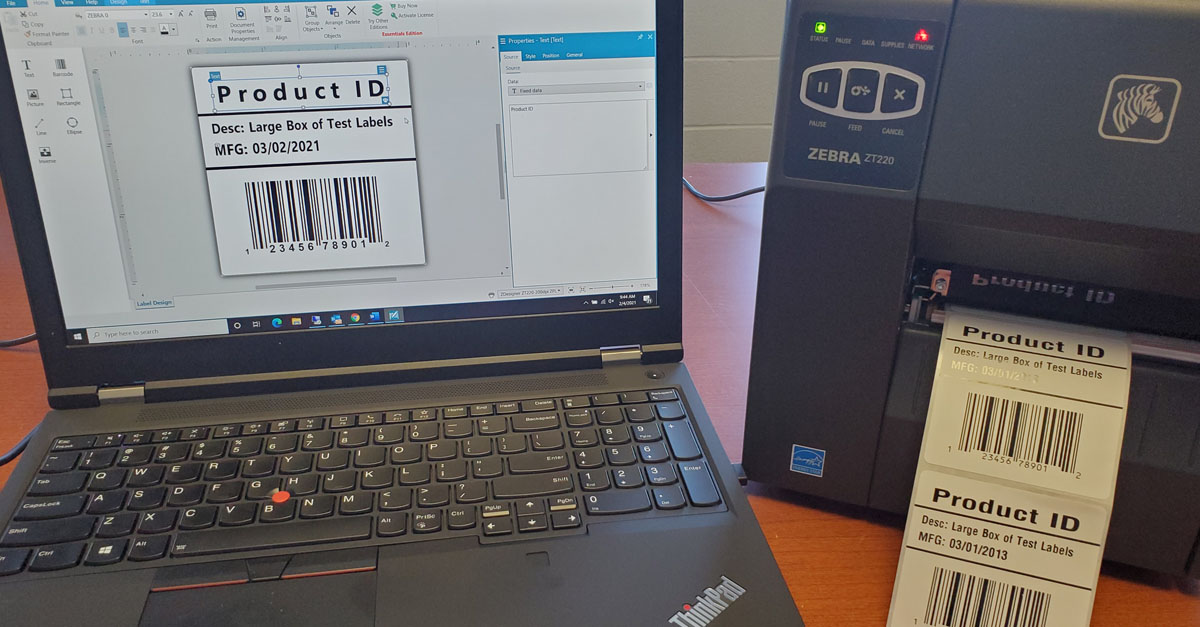
Beginner's Guide to Label Software.
Walkthrough Creating Your First Label.
Free Label Software link download.
You have a newly acquired Zebra Thermal Transfer printer and need to create your first label. This is very easy to accomplish even without prior knowledge of barcoding or labeling. First, you need to install the label software on your computer. Lets start with a free version from Zebra, found at the link below.
ZebraDesigner for Developers 3 Software Downloads | Zebra
Zebra Designer is basic label software which allows you design your own label with a familiar Microsoft Office-style interface. If you need more advanced options such as connecting to a database or ERP system integration then you will need to purchase the full software license.
First - Download and install the software.
Before you start designing your first label you will need to install the proper driver for your printer. Connect the USB port of your computer to the USB port of your printer. Turn on your printer and the printer driver should download automatically.
You can also download the drivers from the link provided in the software highlighted in Image 1. Other connection options from your computer to the printer include, Bluetooth, WIFI, serial, and ethernet.
IMAGE 1

Once your driver is installed lets start designing our new label by selecting create a new label. Image 2
IMAGE 2
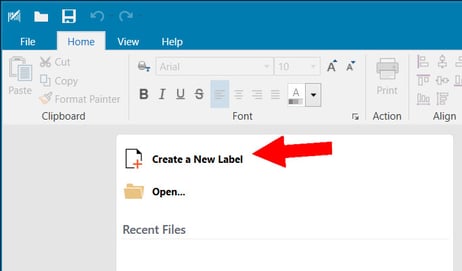
Select your printer from the drop down and click next. Image 3
IMAGE 3

Select print on a roll of labels. Image 4
IMAGE 4
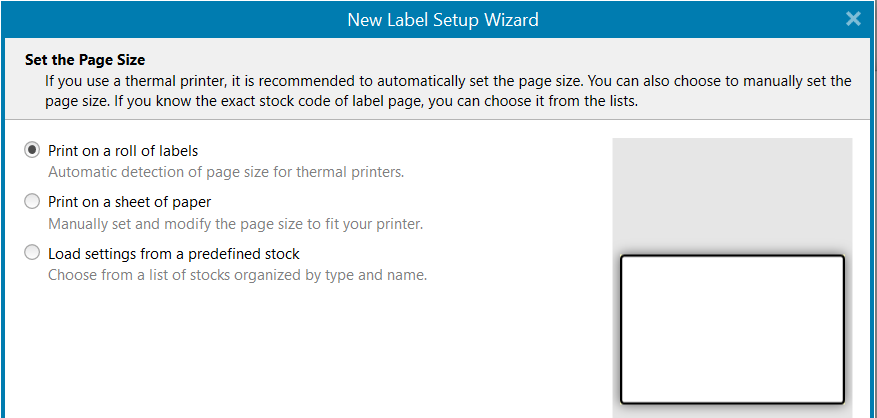
Select portrait mode. The software displays a preview of the orientation of the label at the bottom of this window. Image 5
IMAGE 5
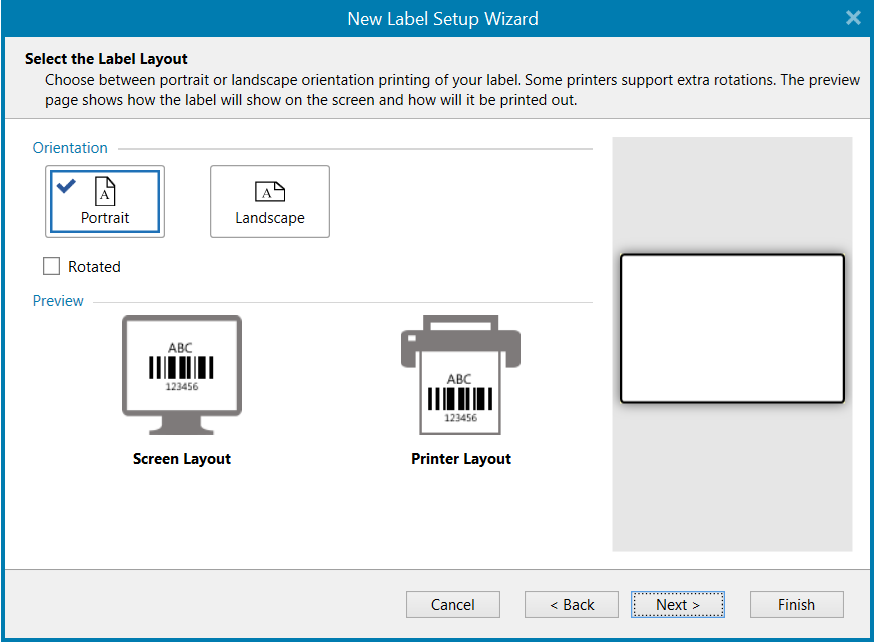
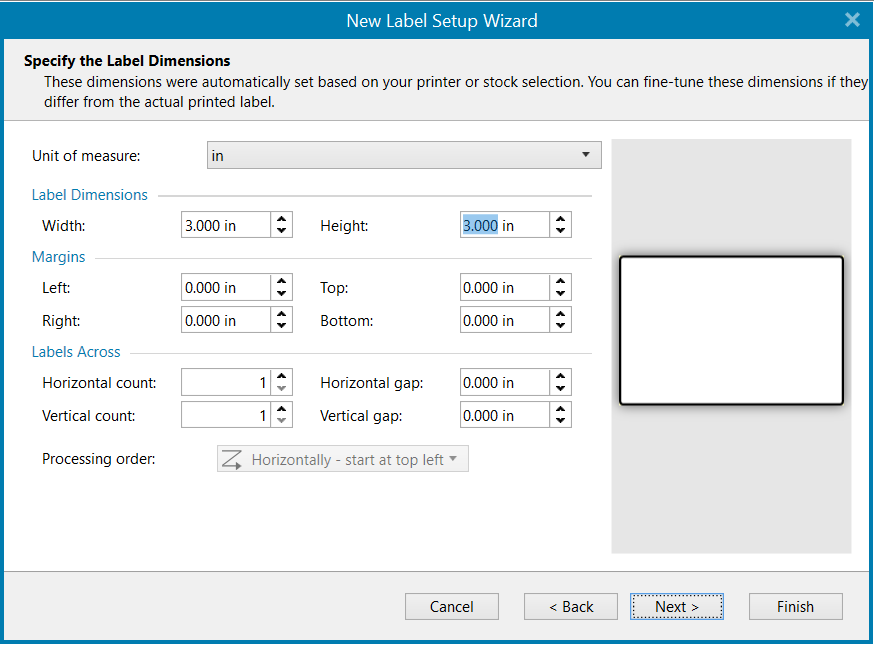
Specify your label dimensions. My label is 3 x 3 with no margins and then select finish. Image 6
IMAGE 6
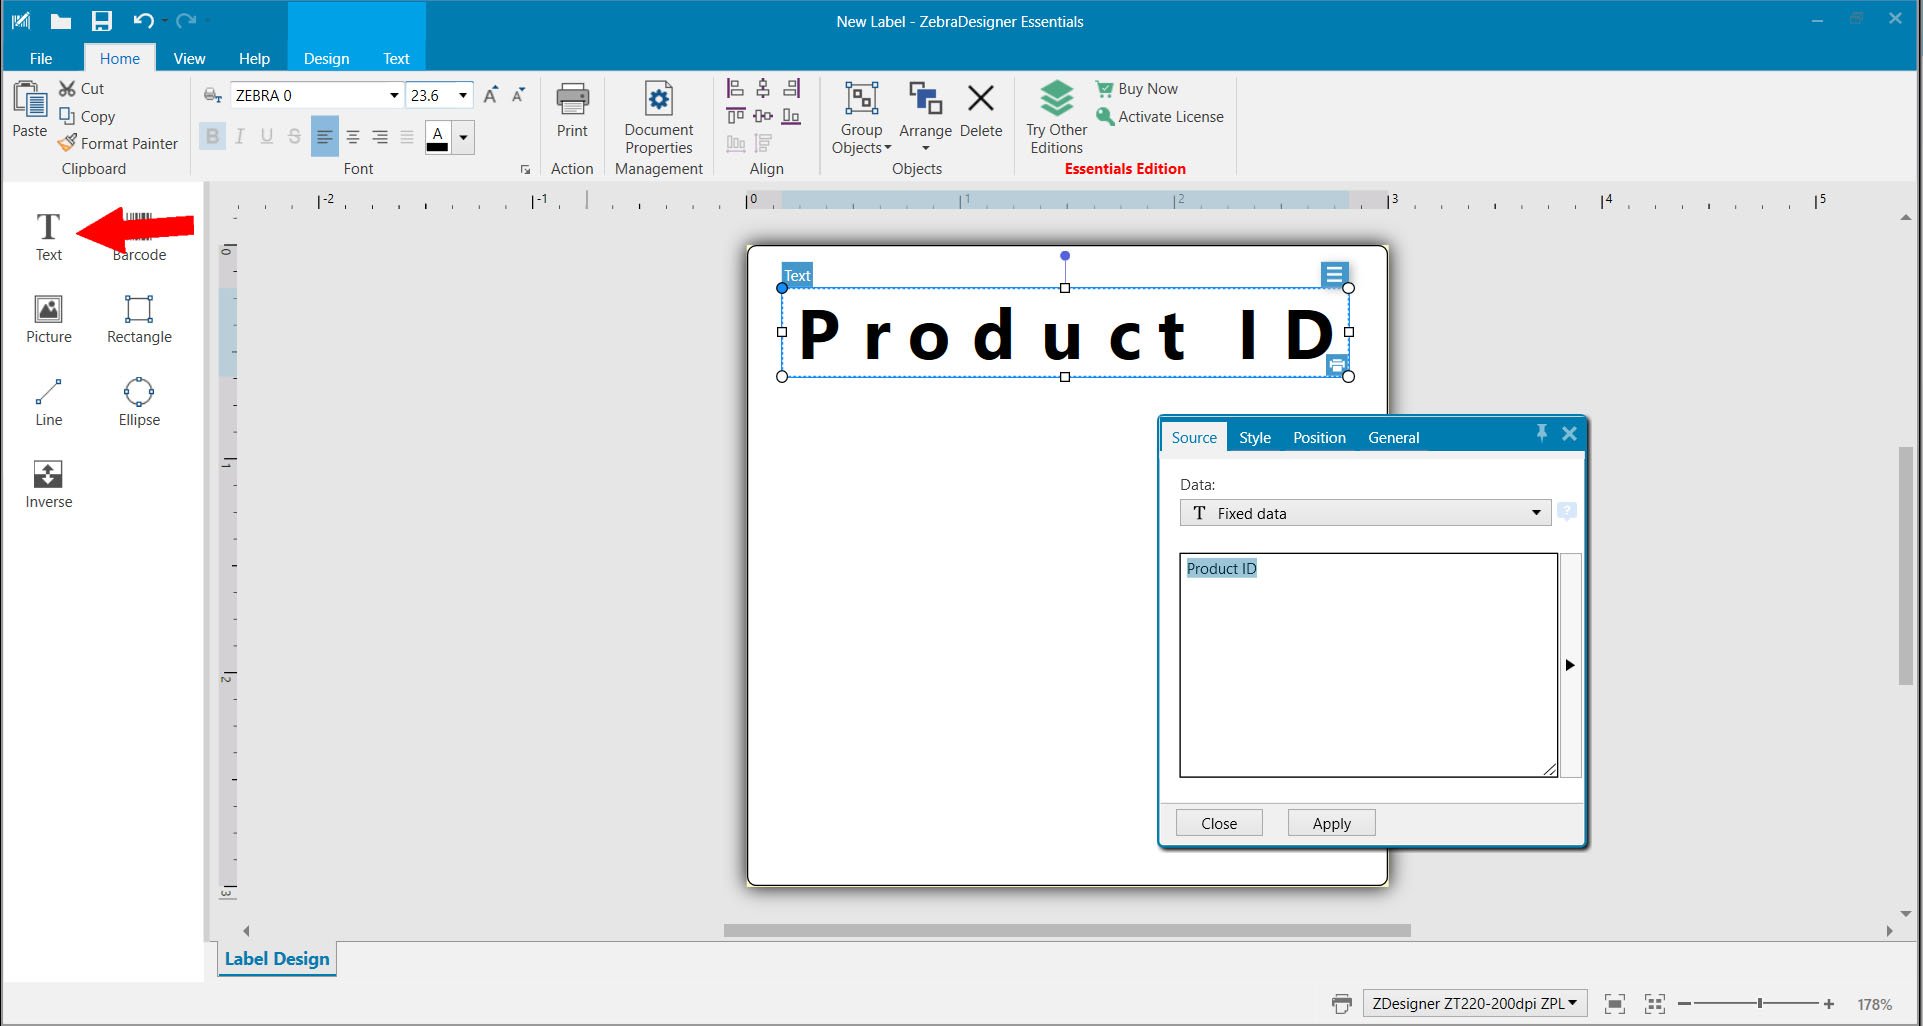
Select text from the left hand toolbar and drop onto the label in the main window. Input your static product name or test data. Selecting variable data from the drop down will prompt you at print time. Image 7
IMAGE 7
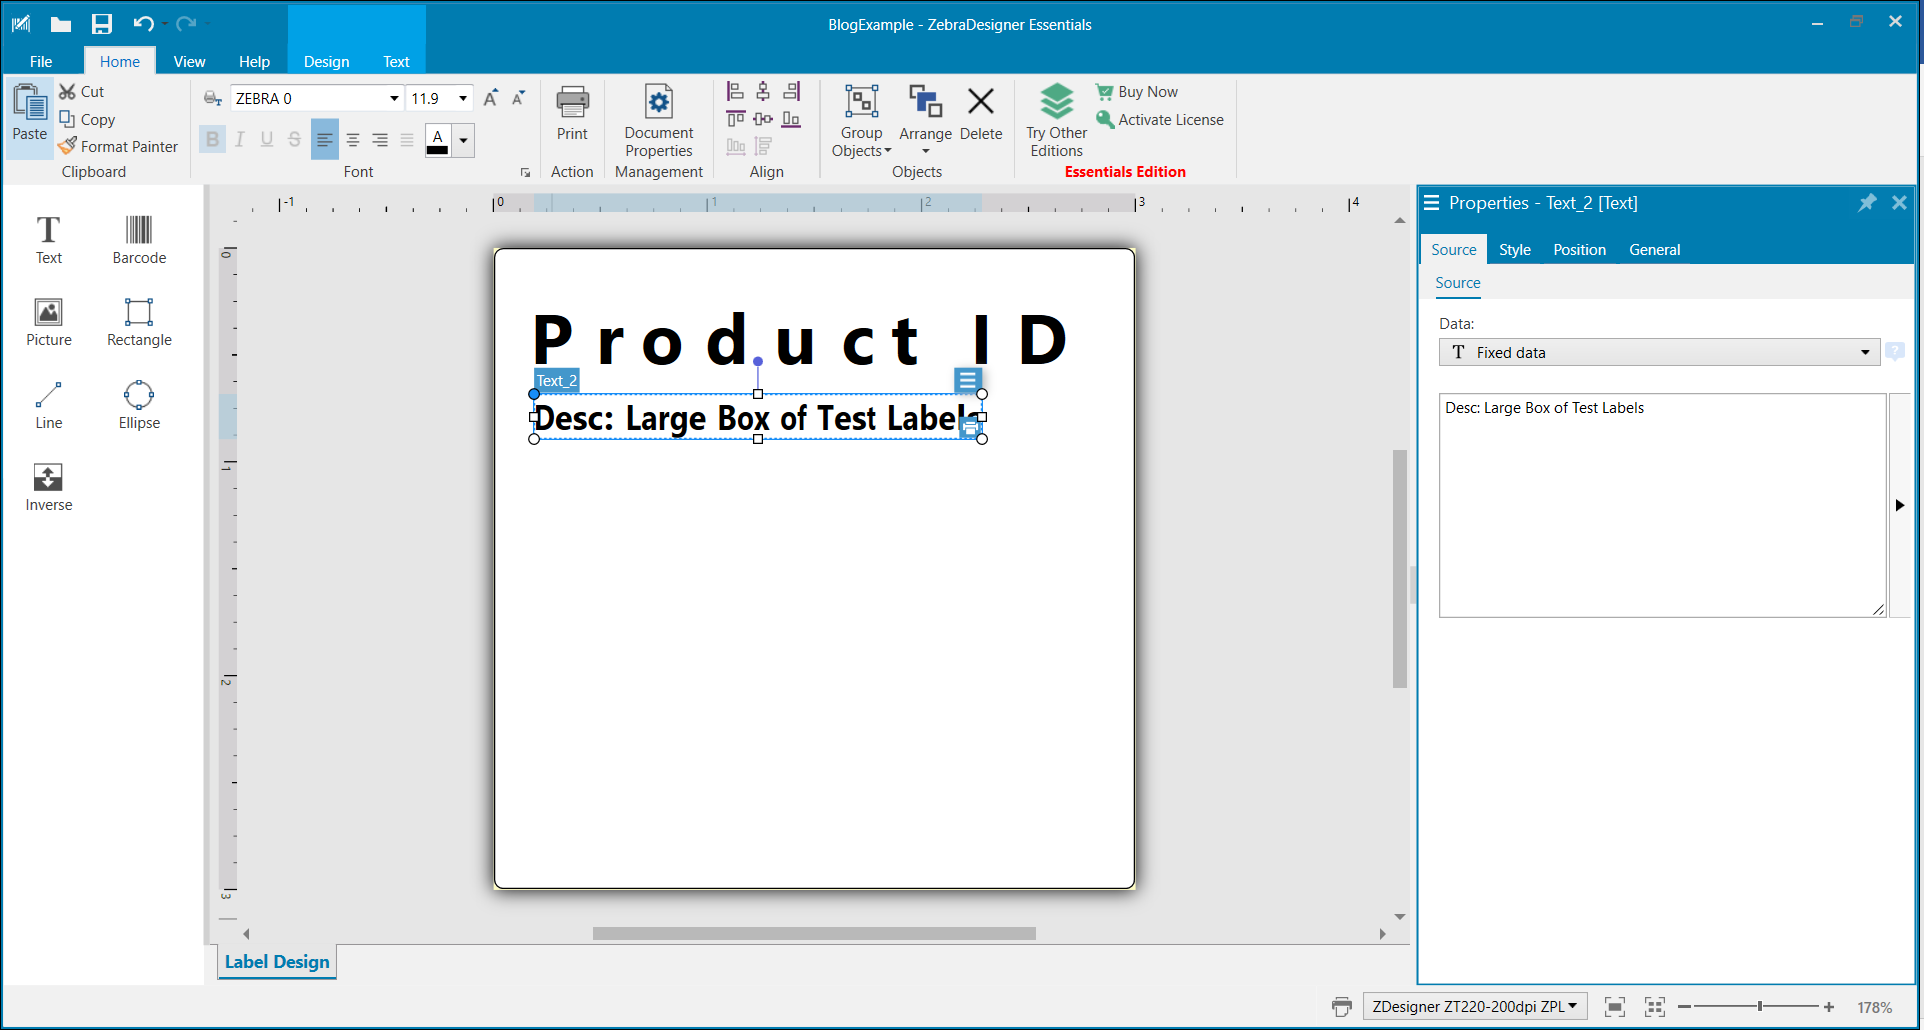
Select text again and drop on label directly below the Product ID field. We are going to make this a description field. Type a description in the fixed text window and resize. Image 8
IMAGE 8
Select text one more time to insert manufactured date. Click the three slashes icon to bring up the properties and select current date. Image 9
IMAGE 9
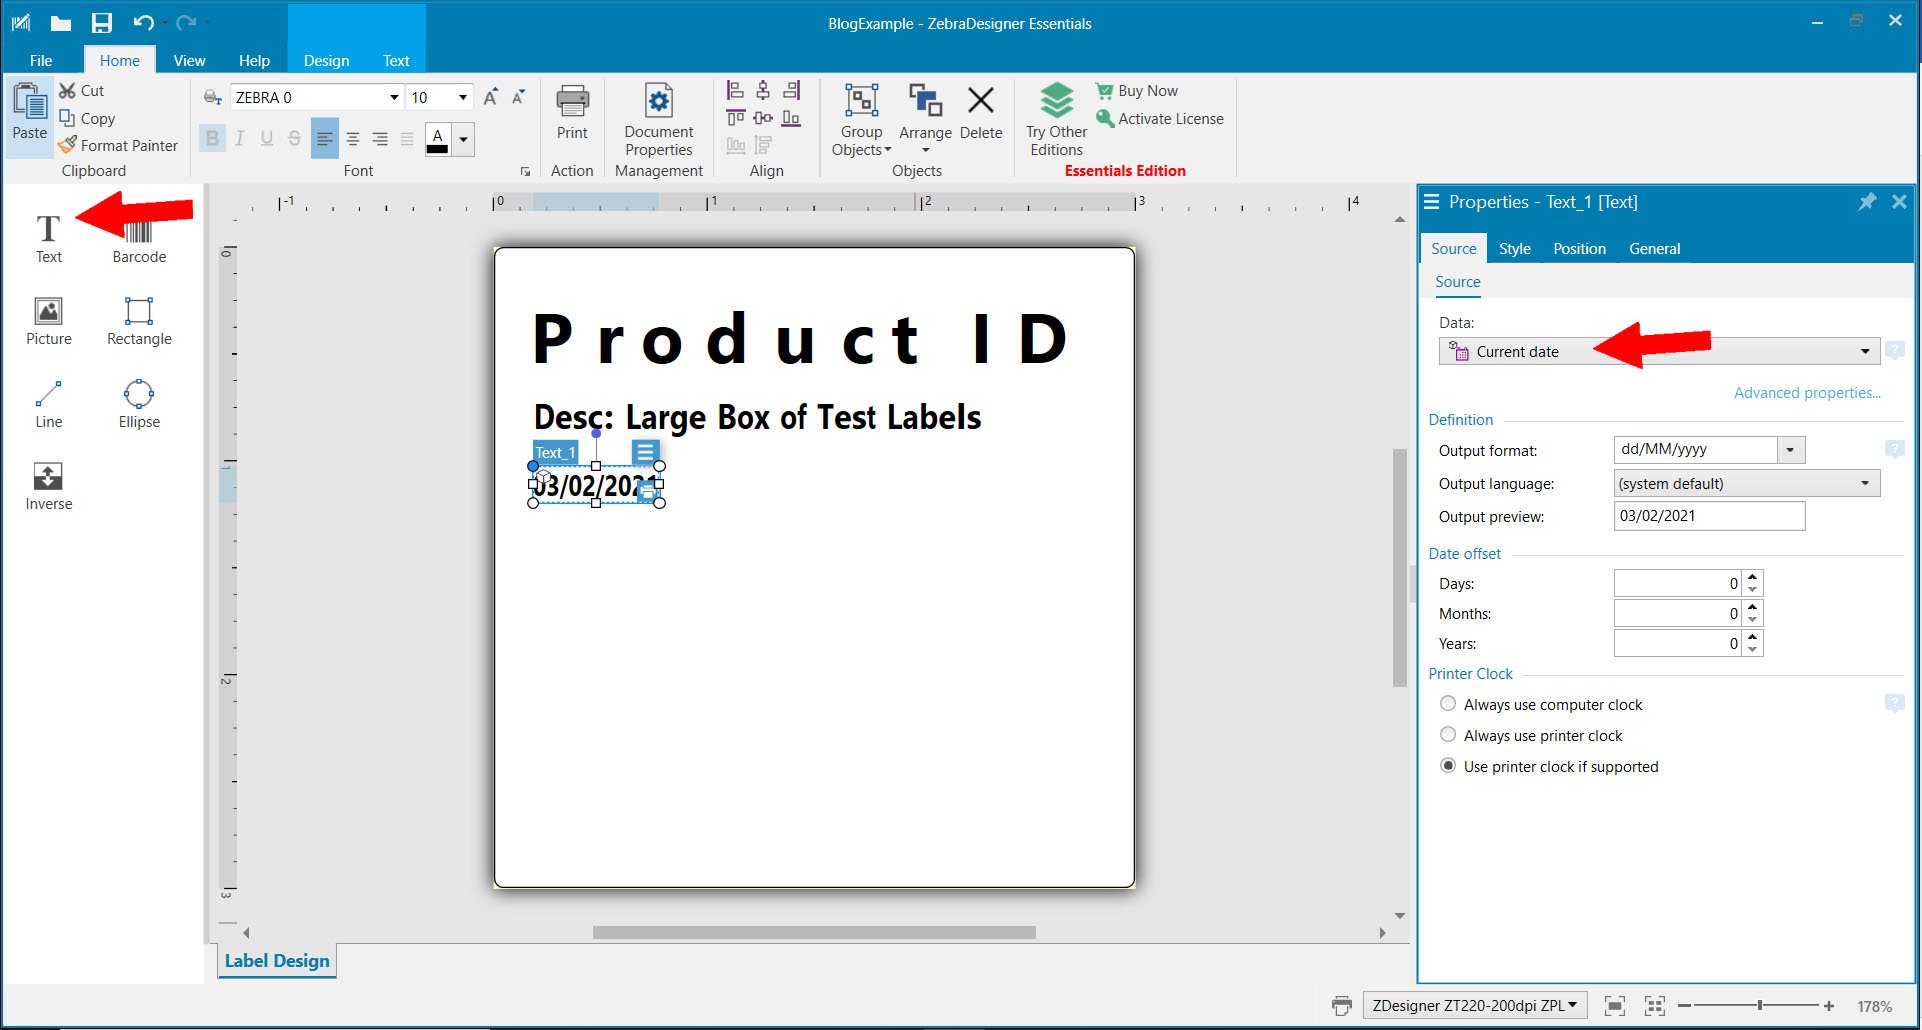
Keep the default settings and click the Advanced Properties text. Select the output rules tab and type
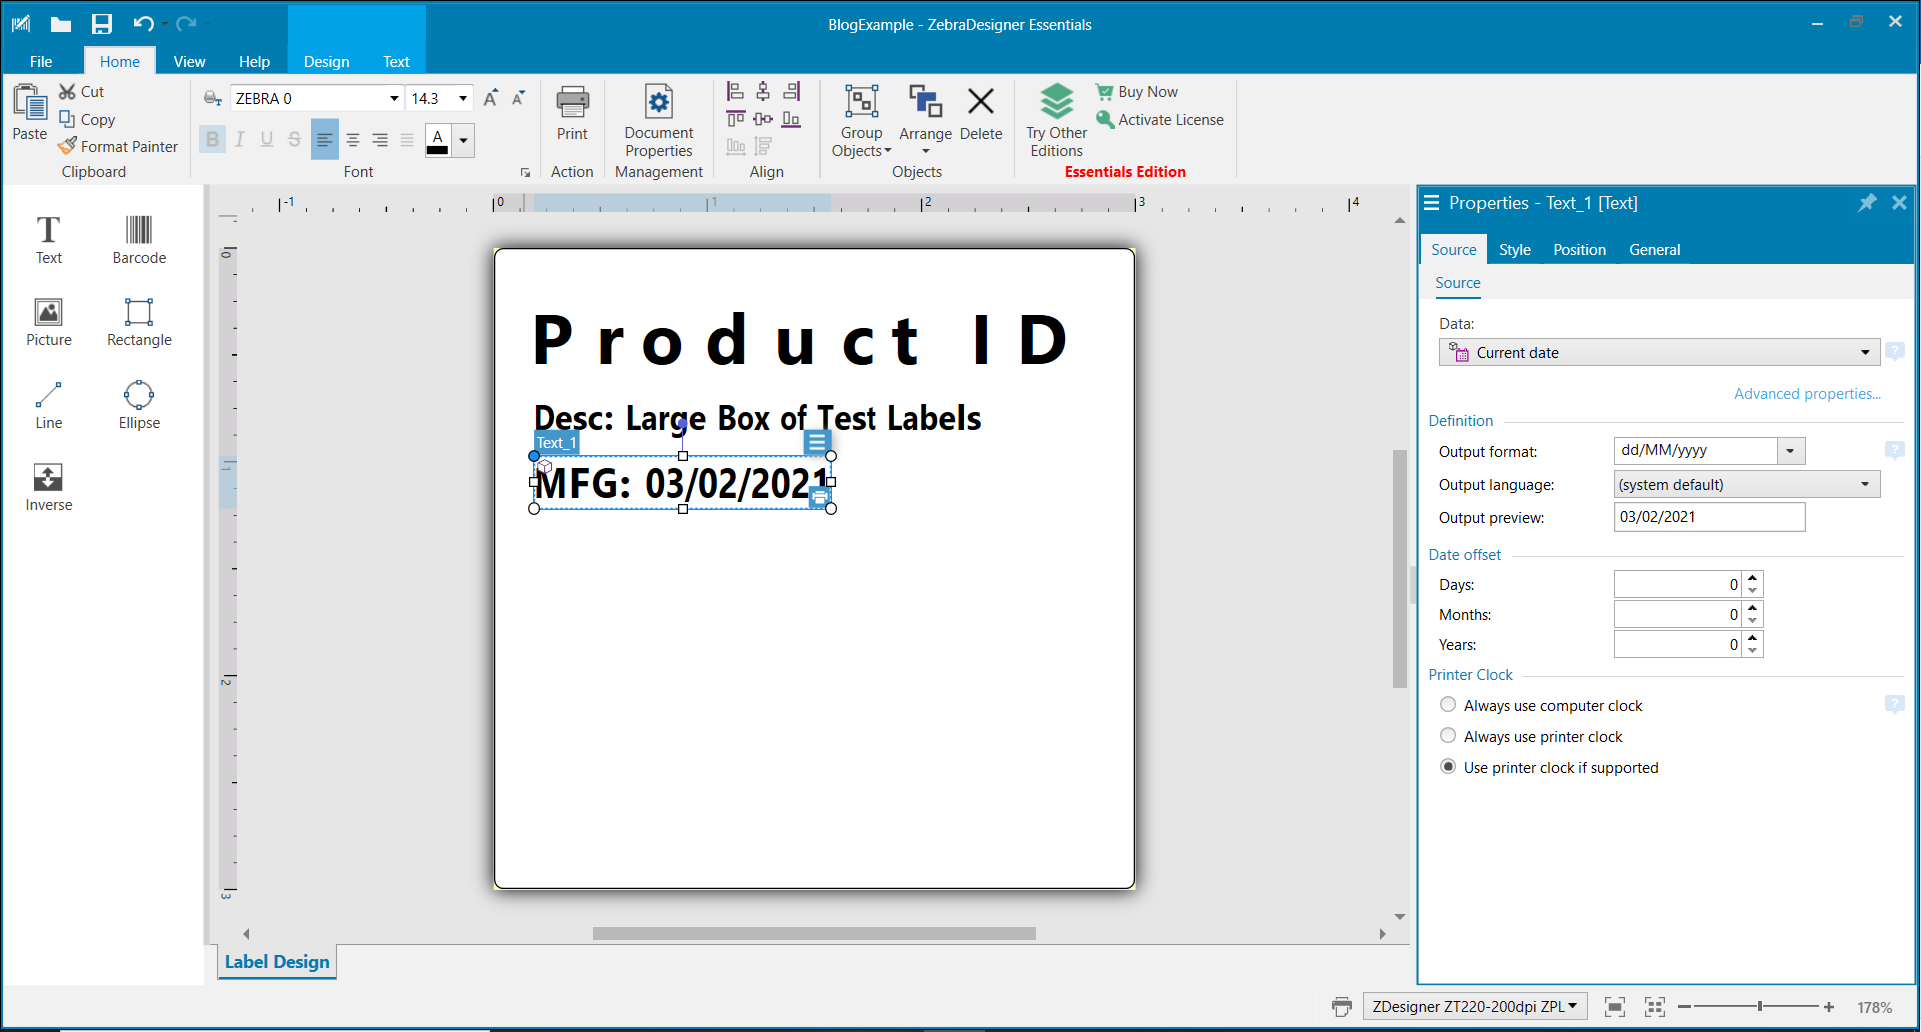
“MFG: “ in the prefix input box. Image 10
IMAGE 10

Select OK and now you’ll see today’s date populate the text field including the prefix. Image 11
IMAGE 11
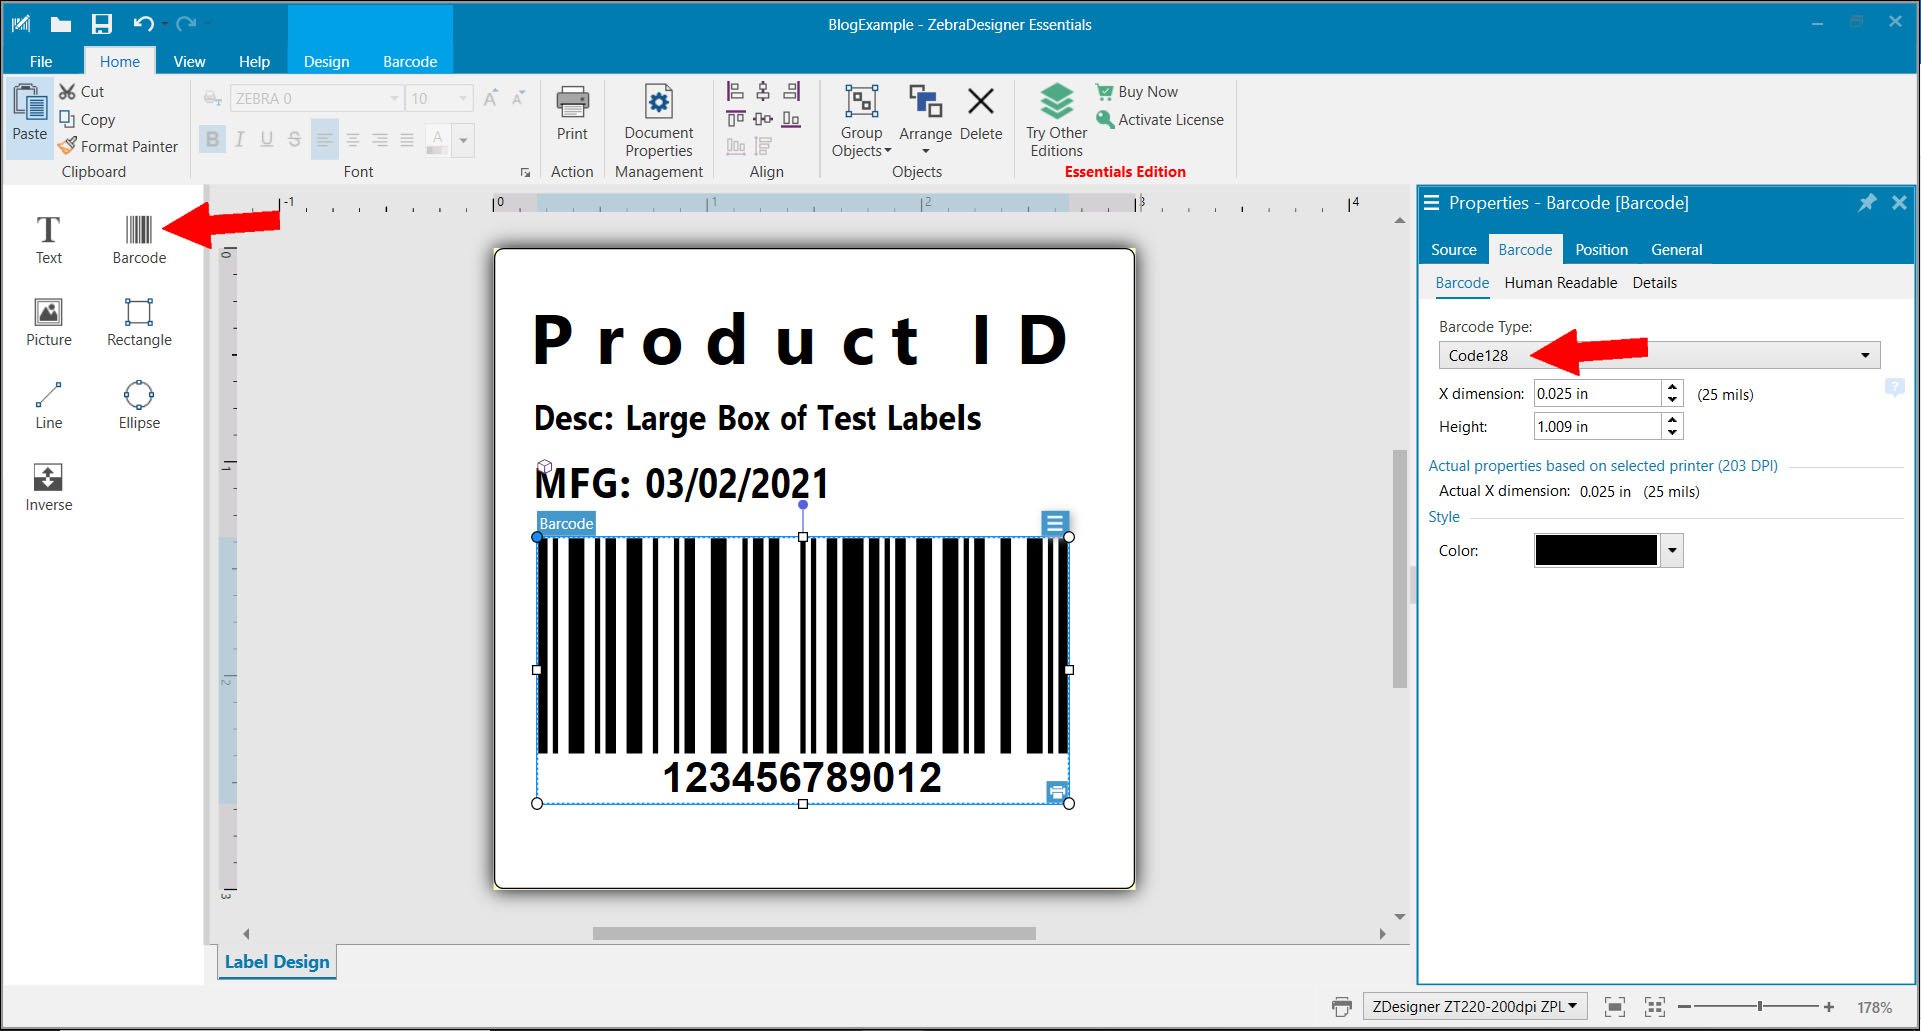
Lets drop a barcode onto the label. The default is Code 128. Image 12
IMAGE 12
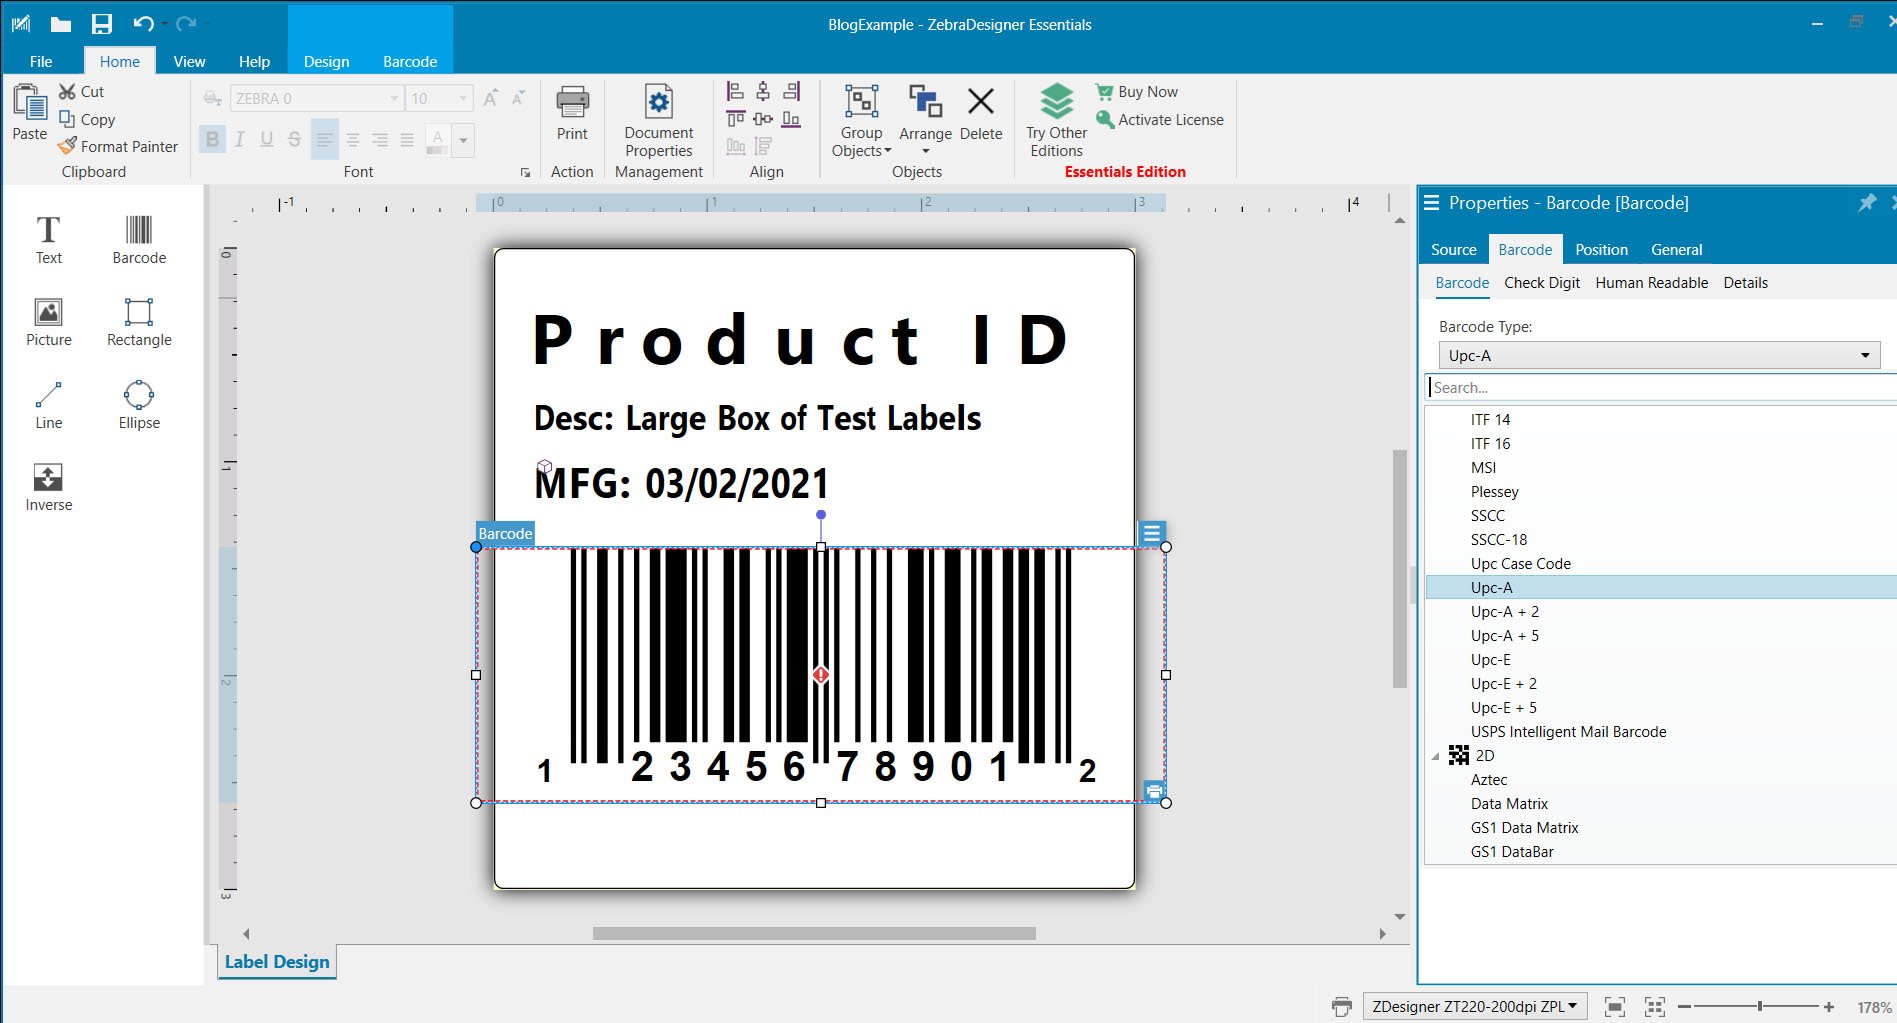
There are many options for barcode types. Lets choose another common type of Upc-A. The check digit will auto generate based on the data given in the source. Image 13
IMAGE 13
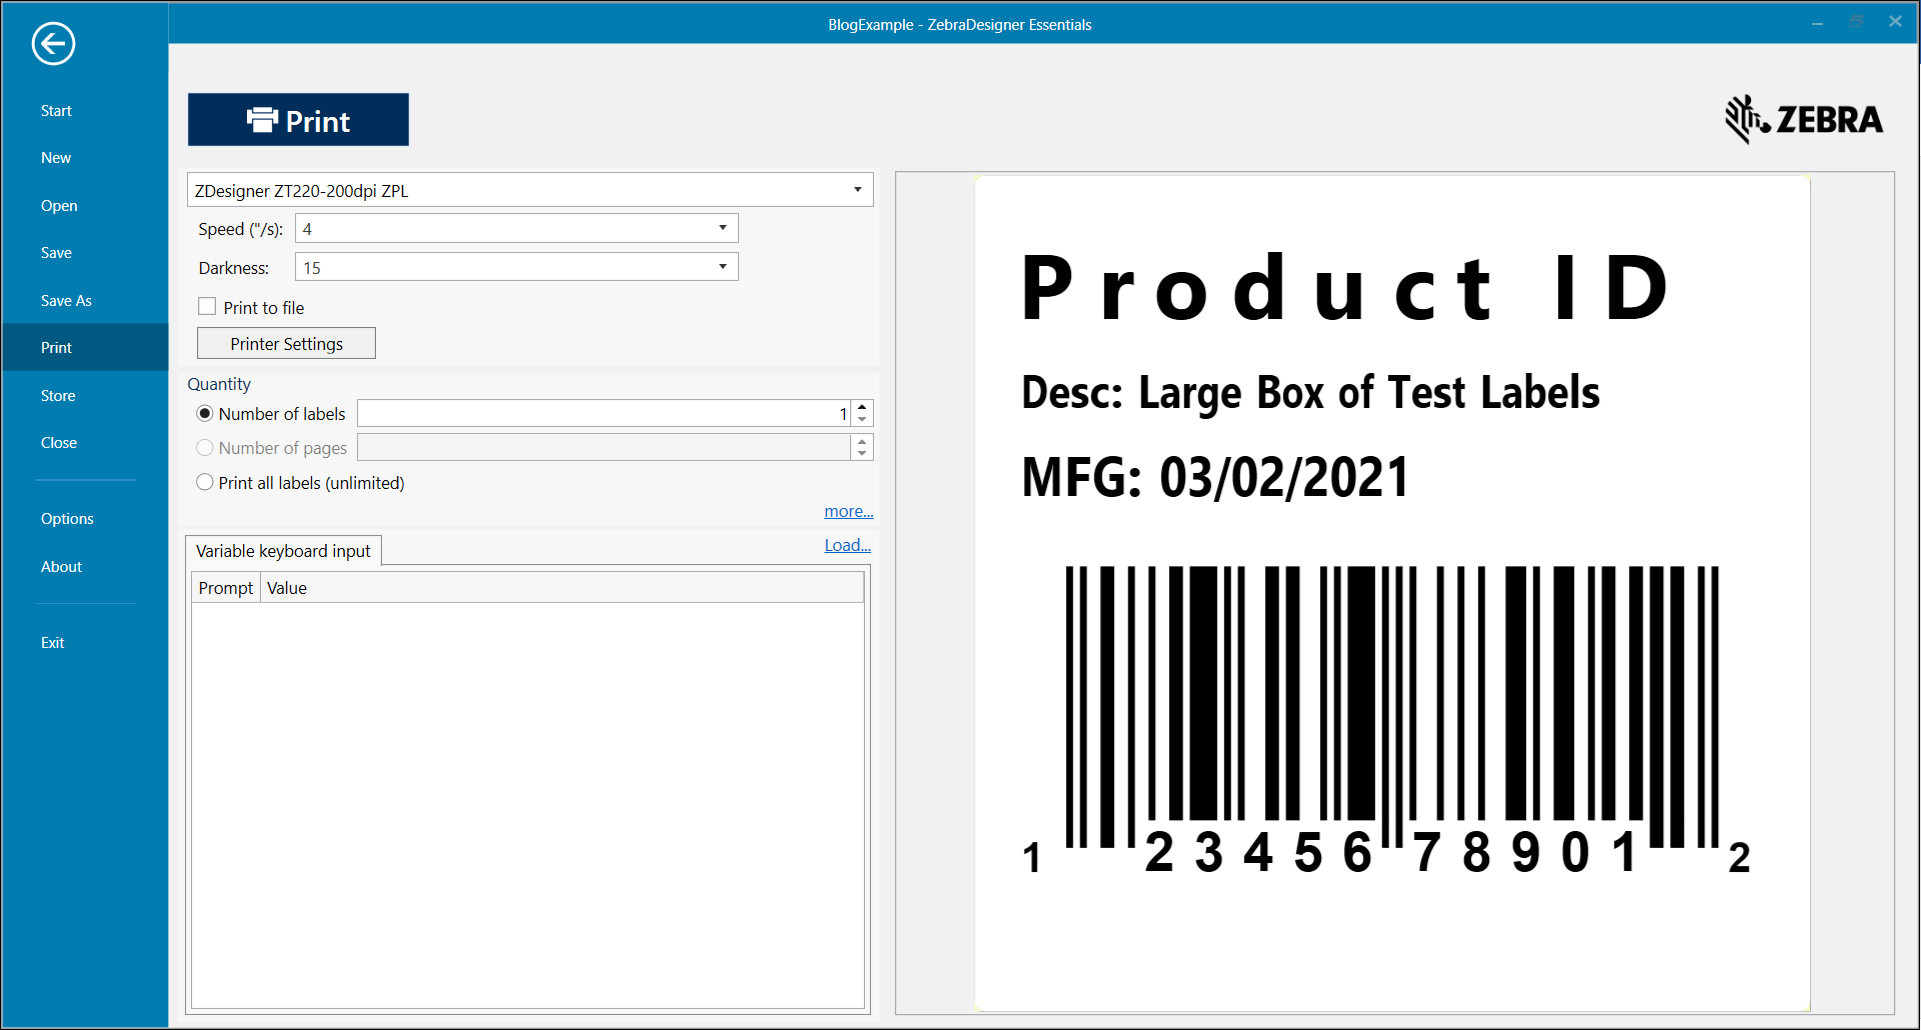
Now we are ready to print. Go to File in the top left and then to print. You will see a preview of your label and you can select the number of labels to print. Image 14
IMAGE 14
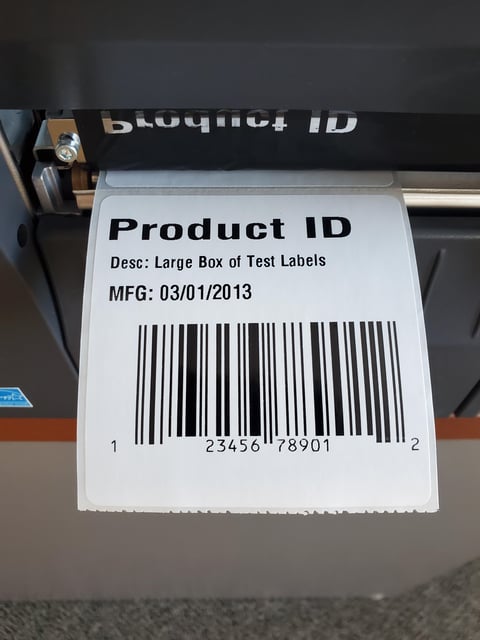
Here is a picture of the final product. Image 15
IMAGE 15
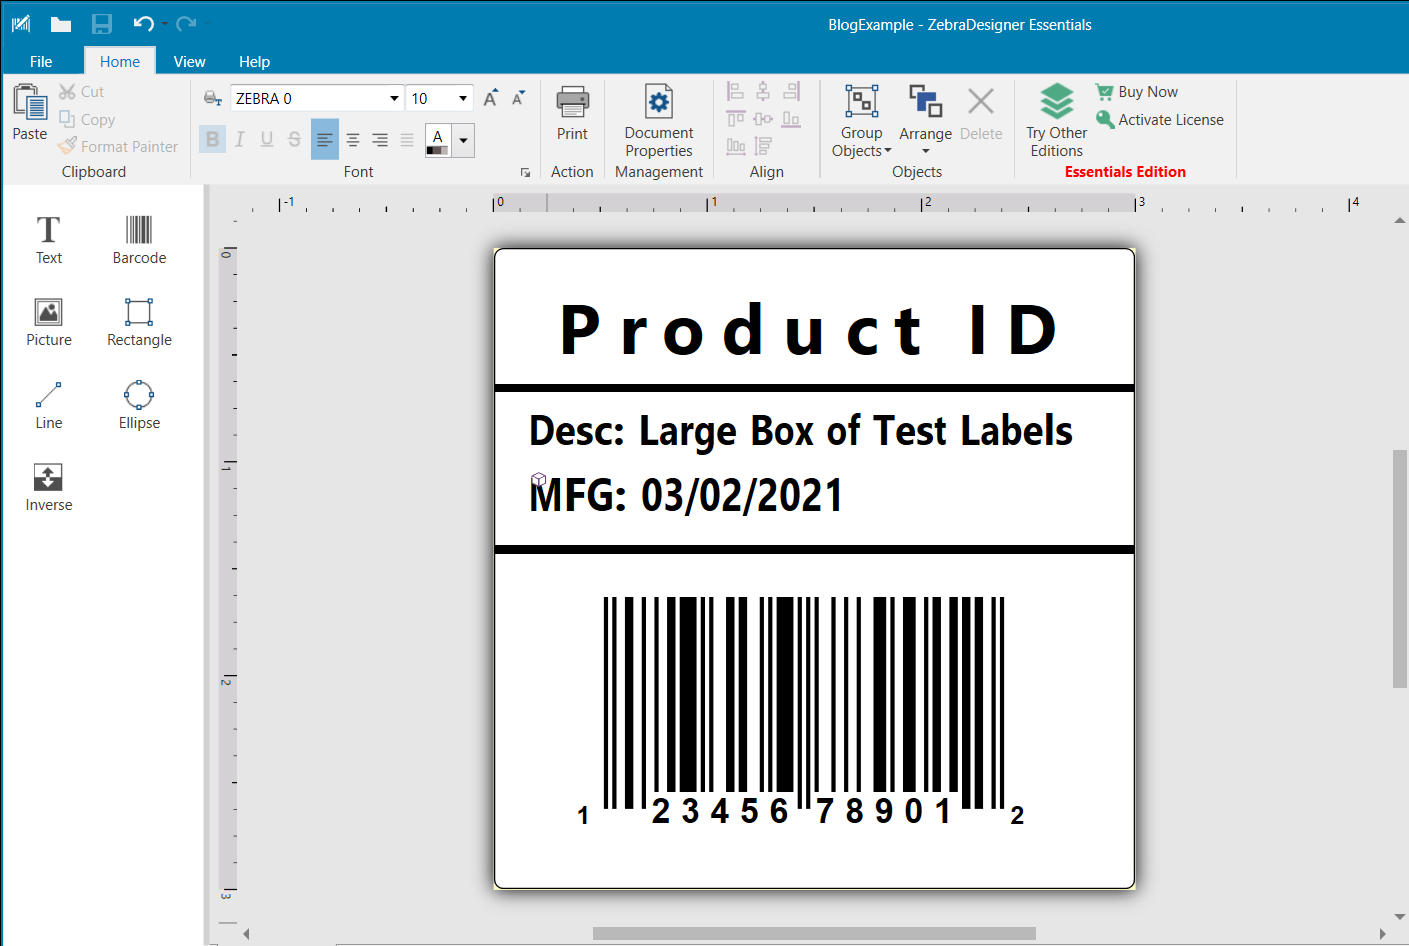
You can reconfigure the sizing and maybe add some lines to divide the label and make it easier to read. Image 16
IMAGE 16
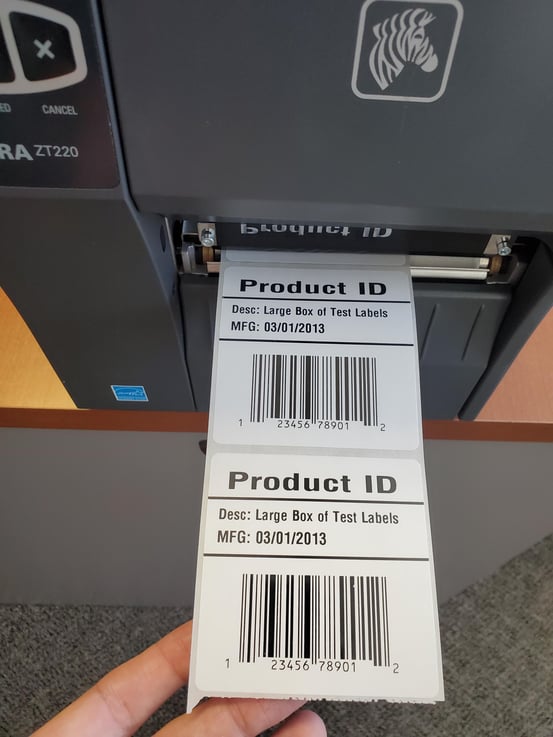
There are many types of labels than you can create some examples are for product identification, inventory identification, certification labels, and shipping labels. This tutorial is a foundation that you can build upon for you next label template. The next step is to connect your label to a database.
Learn more about LabelPack Automations relationship with Zebra here.

